

Guide
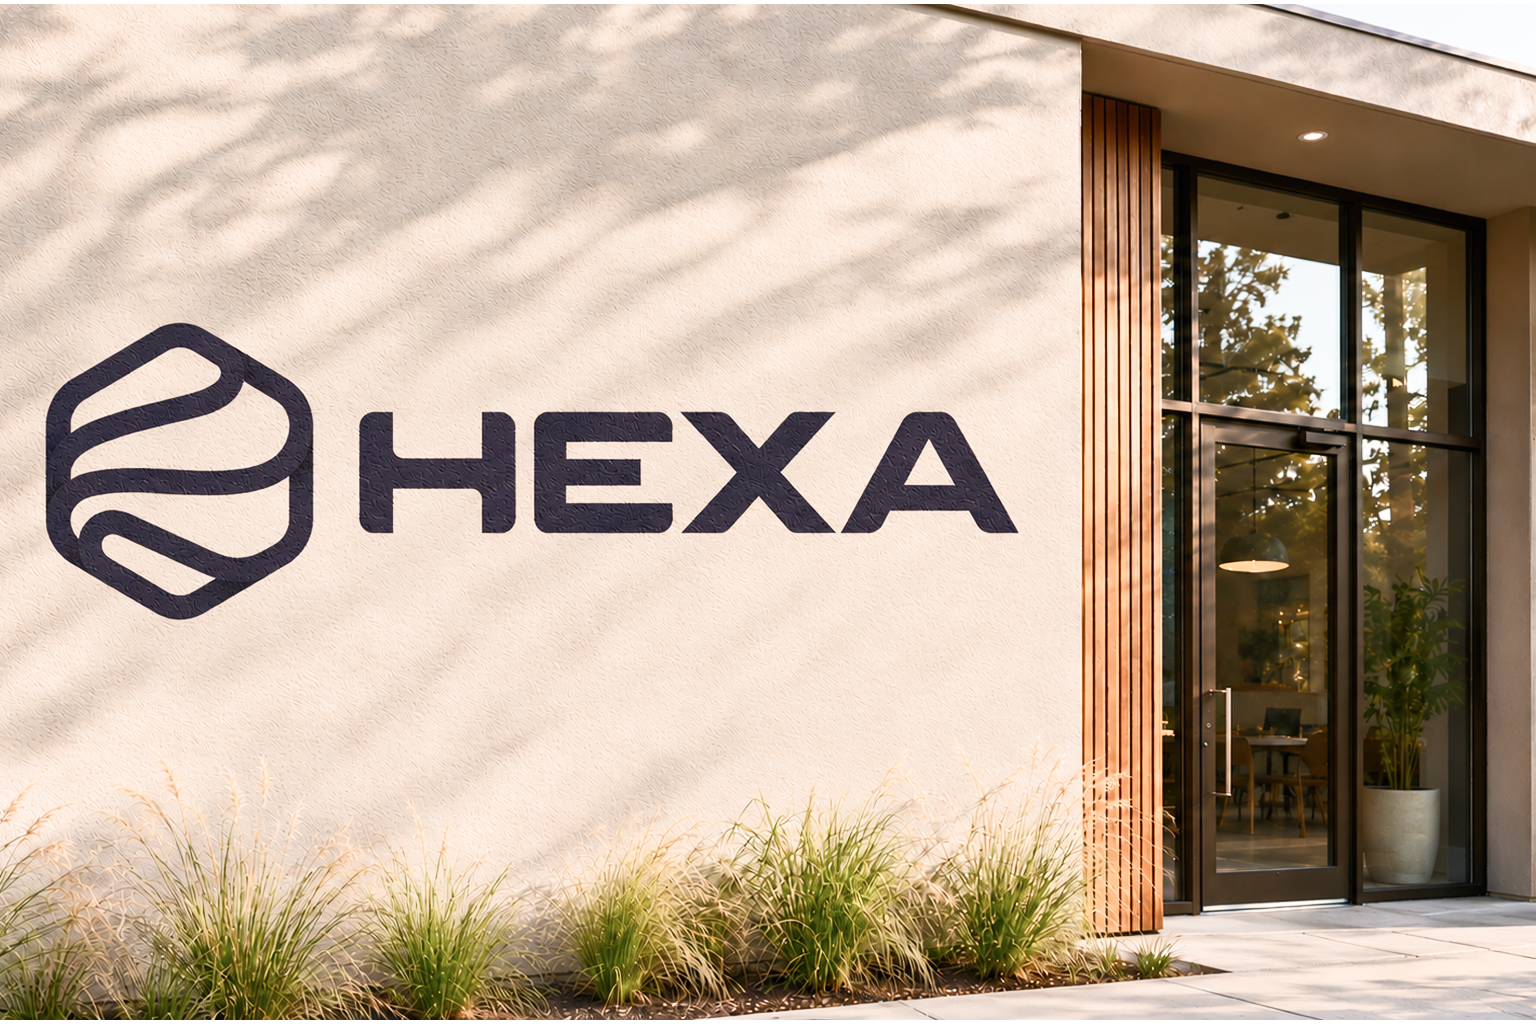
A hotel that wants to stand out as soon as guests pull into the car park. A café swapping a plain grey wall for an eye-catching mural. A home with a facade that makes it one of a kind. Outdoor wall printing opens up the possibility of jobs like these. And they can often mean larger areas and bigger budgets.
Working outdoors is different from printing on a standard wall. The surface is exposed to moisture, dust, wind, UV rays and changing temperatures. Each of these can affect the quality and durability of the print.
The key to a successful outdoor job is getting properly prepared. There are a few things to check, plan and agree before the printer lays down its first drop of ink. Here’s what to look out for.
How do you prepare for outdoor wall printing?
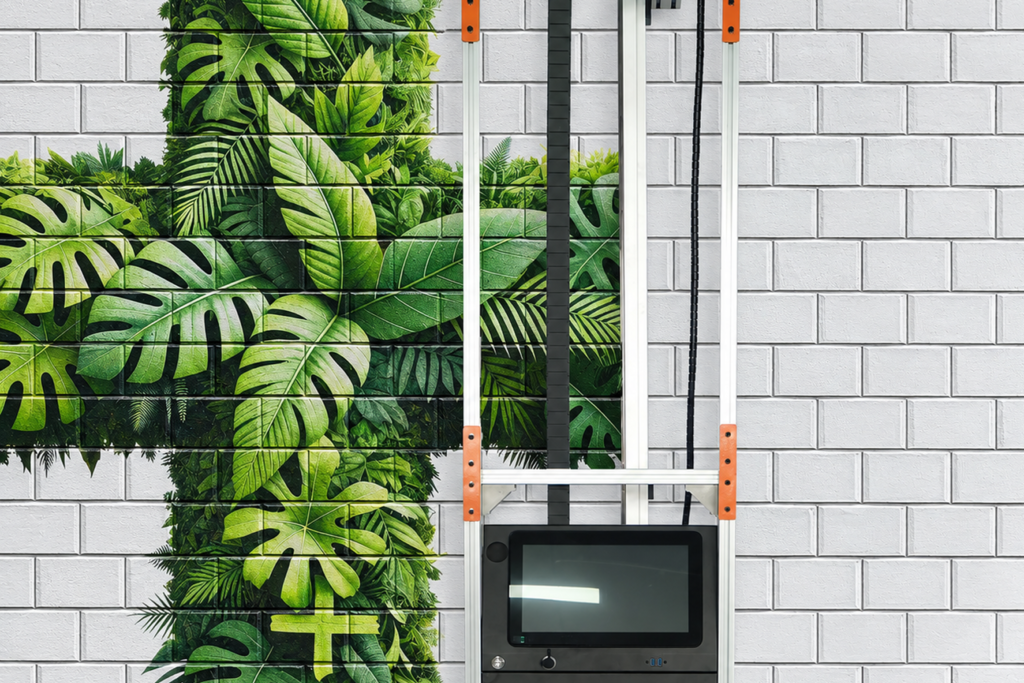
A hotel that wants to stand out as soon as guests pull into the car park. A café swapping a plain grey wall for an eye-catching mural. A home with a facade that makes it one of a kind. Outdoor wall printing opens up the possibility of jobs like these. And they can often mean larger areas and bigger budgets.
Working outdoors is different from printing on a standard wall. The surface is exposed to moisture, dust, wind, UV rays and changing temperatures. Each of these can affect the quality and durability of the print.
The key to a successful outdoor job is getting properly prepared. There are a few things to check, plan and agree before the printer lays down its first drop of ink. Here’s what to look out for.
How do you prepare for outdoor wall printing?
Follow these five steps to get ready for an outdoor print.
1. Inspect the wall: check for unevenness and make sure it’s clean
The façade should be flat and vertical. The wall printer can handle unevenness of around ±5 cm. More pronounced irregularities, such as waves, bulges or dips, need extra assessment, the right settings and an experienced operator.
The surface also needs to be dry, grease-free and dust-free. There shouldn’t be any building work nearby that could create dust in the area where you’ll be printing.
2. Check the weather forecast
Outdoor jobs are best planned for spring and summer. The ideal temperature for operating a wall printer outdoors is between 19°C and 30°C. Below 19°C, the ink may mist into the air instead of settling evenly on the wall. Above 30°C, the printer’s components are at greater risk of overheating. If the printer will be in direct sunlight, provide some shade, such as a temporary canopy.
It mustn’t rain on the day of the job. Ideally, the forecast should be as settled as possible. A short break in the rain may not give the wall enough time to dry properly.
3. Don’t underestimate the wind
Wind is another factor to consider when choosing a date. It can carry the ink away from the wall and make the printer’s frame sway.
What can you do? Check the forecast a few days before the job. In most cases, you can plan to work at the calmest time of day.
Bear in mind that some locations are more exposed to gusts than the surrounding area, including:
- underpasses;
- narrow passages between buildings;
- building corners;
- open courtyards;
- higher sections of facades.
For jobs in these locations, it’s worth visiting the site in advance and planning a screen to protect the space between the printhead and the wall. Every location is different, so choose an approach that suits the conditions.
4. Set up the printer securely
Outdoors, it’s essential to position the printer vertically in relation to the wall. Paving, soil and uneven concrete don’t always provide a stable base. Secure the rails with support feet so the frame won’t move during printing and stays stable throughout the job.
Some jobs may also call for scaffolding or another way to access the wall safely and securely. The printer can reach a height of 375 cm, but customers sometimes have unusual ideas. At one Carbon Fox installation, the highest point of the graphic was almost seven metres up.
5. Protect the print from UV rays
An outdoor print can last for up to five years. How long its colours stay vibrant depends largely on how much sunlight the wall receives. A south-facing facade with little shade is exposed to UV rays for much of the day, so its colours may fade sooner. Prints on shaded or north-facing walls tend to keep their fresh appearance for longer.
For a sun-exposed facade, you can add a varnish that protects against UV rays. This extra layer helps the colours last longer, particularly on walls that spend many hours in direct sunlight.
Is every facade suitable for wall printing?
In short, no. But there are ways to assess it. As mentioned above, the best surface is flat, vertical, dry and clean.
Facades that need closer inspection include those that are:
- very uneven;
- damp;
- dirty, especially with greasy marks;
- unstable, with flaking plaster or paint;
- exposed to strong winds;
- next to ongoing building work.
In these cases, the surface may need careful preparation or a test print. You can also ask someone with experience for advice, for example in our Slack community, which has more than 400 active wall-printing operators.
Before accepting the job, make sure the customer has permission from the building’s owner or residents’ association.
Is outdoor printing difficult for a new operator?
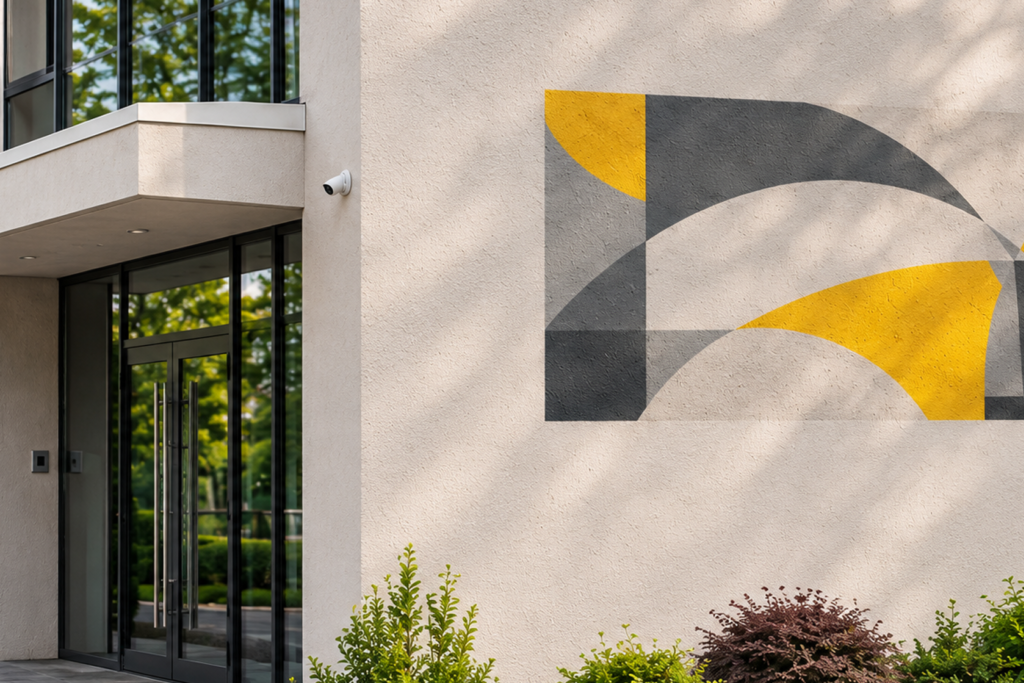
Even a new operator can take on outdoor printing, provided they prepare carefully and follow the right procedures. It comes down to knowing your equipment and following the steps. Once you know how to position the printer, shield the printhead from the sun and respond to changing weather, you can complete the job safely and efficiently.
You don’t have to work it all out for yourself. When you choose wall printers⁺, you get training, a library of video tutorials, checklists and technical support. Before your first challenging job, you’ll have practical guidance to help you through the printing process.
Outdoor wall-printing checklist
Before setting off, use this checklist to make sure nothing catches you out.
Check the surface:
- Is the wall flat and vertical?
- Is it dry and grease-free?
- Is it free from dust, debris and ongoing building work?
- Are the rails on a stable base?
Choose the right day:
- Is the temperature between 19°C and 30°C?
- Is rain forecast?
- Will the printer be protected from direct sunlight?
Choose a sheltered spot:
- Is the location sheltered enough from the wind?
- Will you need to shield the printhead?
- Is the printer vertical in relation to the wall?
Agree the details with the customer:
- Do you have permission from the building’s owner or residents’ association?
- Does the customer understand how sunlight can affect the colours?
- Will you need scaffolding for a high print?
- Would a UV-protective varnish be useful?
Reading about it is a start. See the printer in action
You now know what to look for when assessing the façade, the weather and the surface. These aren’t boxes to tick for the sake of it. They can determine whether the customer gets the result they’re paying for.
When you choose wall printers⁺, you also get technical support and a full set of marketing and business tools, including practical know-how to help you tackle your first jobs and build your business.
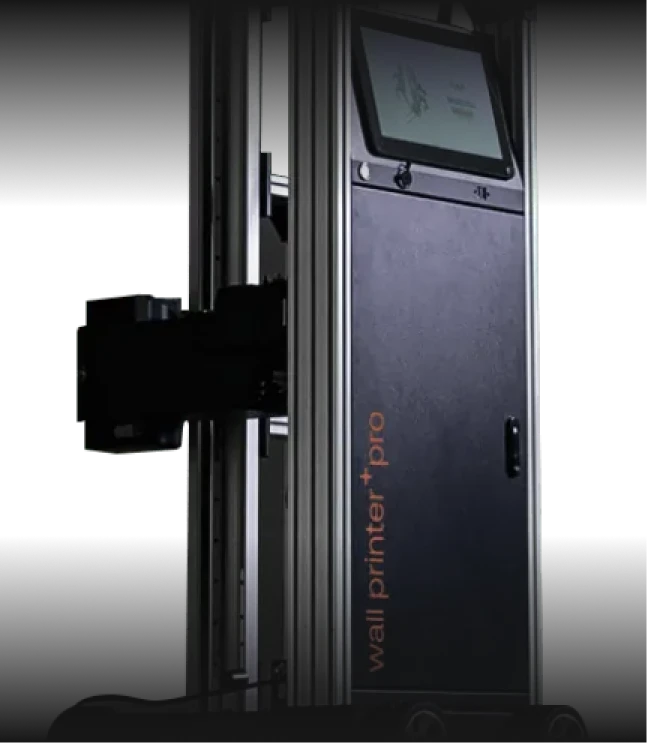
You’ve got a solid starting point, but no article can replace seeing the printer for yourself. Book a demonstration and see how the wall printer⁺ pro works in person. Fill in the form and we’ll take it from there.
FAQ - wall printing on exterior walls
The ideal temperature for outdoor wall printing is between 19°C and 30°C. Choose a dry, calm day. Below 19°C, the ink may mist into the air instead of settling on the wall. Above 30°C, the printer’s components are at greater risk of overheating. It’s also worth shading the printer from direct sunlight. In exposed locations, shield the space between the printhead and the wall from gusts.
The surface should be flat, vertical, dry, grease-free and free from dust. The printer can handle unevenness of around ±5 cm. Before you start, check that there’s no dusty building work taking place nearby.
An exterior wall print can last for up to five years, depending on how much sunlight the wall receives. South-facing walls exposed to UV rays for much of the day may fade sooner than shaded or north-facing walls. On walls that get a lot of direct sun, we recommend adding a UV-protective varnish to help the colours last longer.
No. Uneven or unstable surfaces, including walls with flaking paint or plaster, need particular attention. The same goes for damp or dirty surfaces, especially those with greasy marks, and walls in locations exposed to very strong winds. They may need preparation or a test print before work begins.
Yes. A new operator can print outdoors safely, provided they follow the right procedures. Success depends on preparing the equipment carefully, positioning the printer vertically in relation to the wall, shielding the printhead and keeping an eye on the weather. Training, checklists and technical support can help too.
Not sure if this business is for you? Want to know the details or get started right away?
Discover the collaboration opportunities available to you and learn how to get started—even if you lack capital, a business of your own, experience, or prior knowledge. We will teach you everything.
See more
[ratemypost]
Blog
Explore our resources
Have a look through our knowledge base. We’ve put together articles, videos and answers to the questions people ask most before getting into wall printing.
Our process
Discover our collaboration process
Take the first step and we’ll do the rest
Send the form and we’ll email you our price list straight away, with all the packages and what’s included. One of our advisers will be in touch within one working day. No hard sell, just answers to your questions.

Your data is safe
Step 1: Choose your location
Step 2: Fill out the form