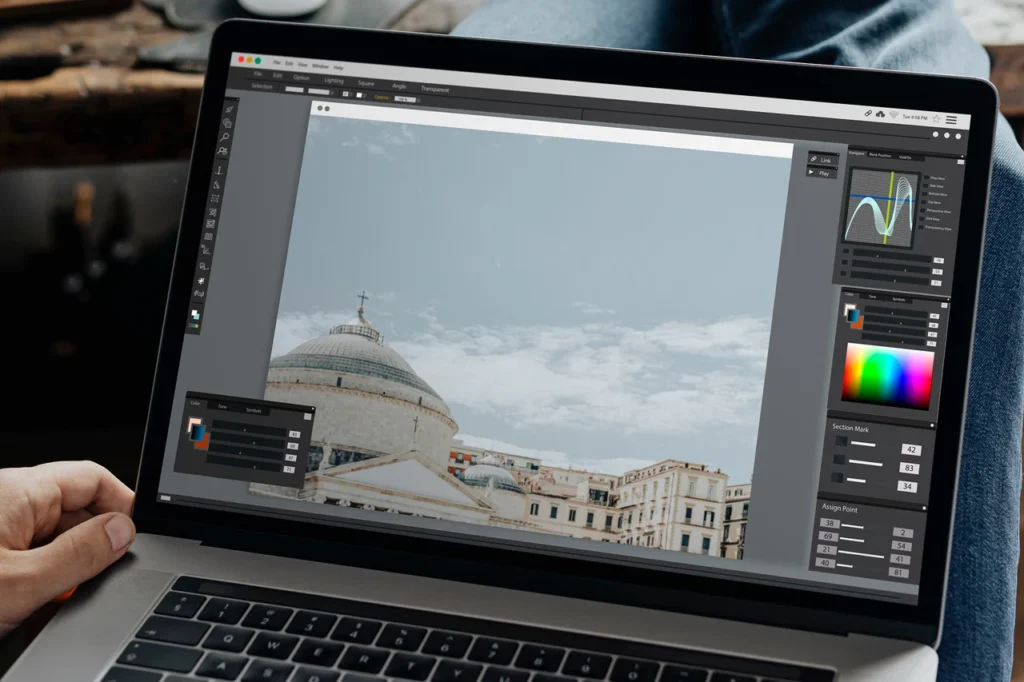
Guide
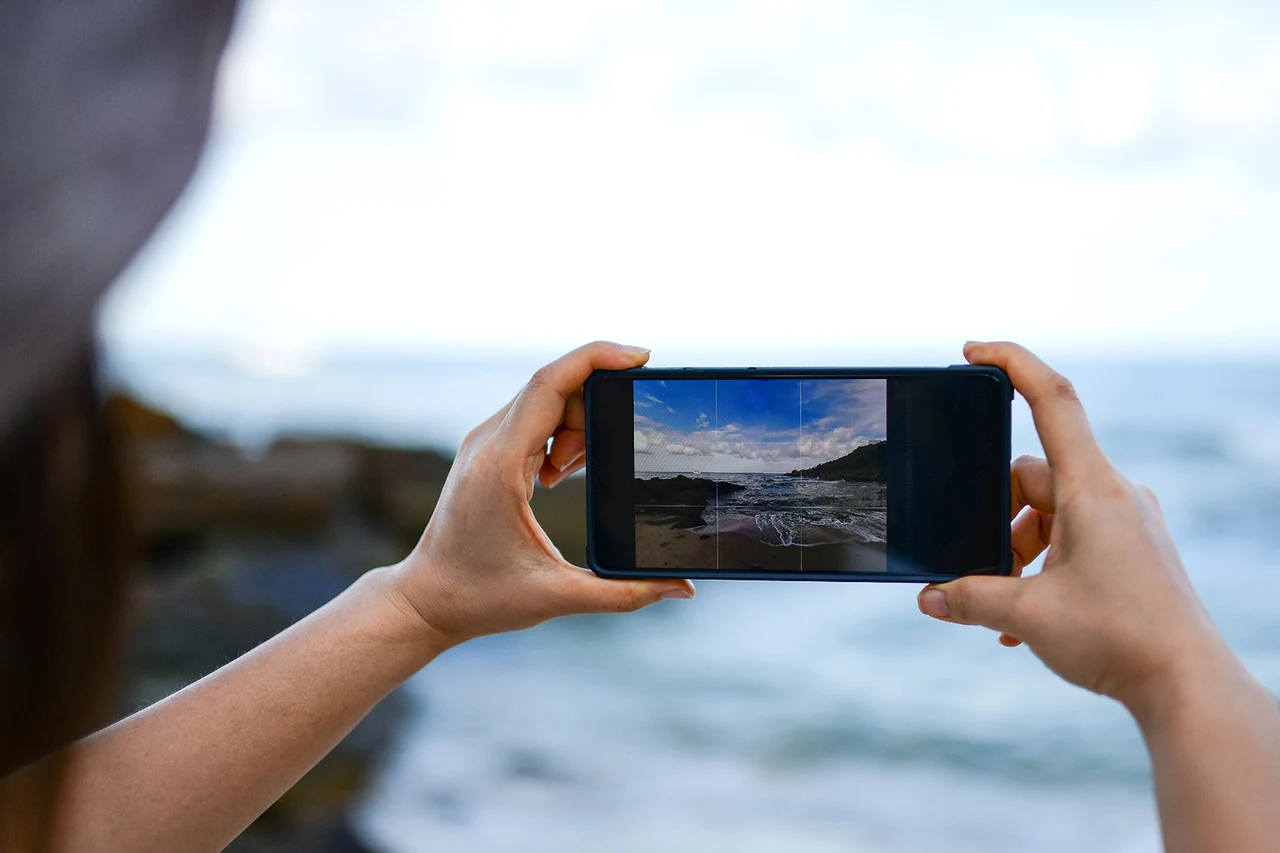
Wondering if you can print a photo onto a wall straight from your phone? The answer is: absolutely! In practice, the whole process comes down to a few simple steps. Below, we show you exactly what this path looks like – from a smartphone file to a finished, photorealistic print in a living room.
The key question: won’t a phone photo be too low quality for a large wall?
Modern phones take incredibly high-quality photos. Files from newer smartphones have more than enough resolution and detail to easily work for large-format printing.
How does it look in numbers? A photo taken with a standard phone allows for a sharp, detailed print of about 2 x 1.5 meters. That is more than enough for you to create a stunning decoration, for example, above a client’s living room sofa.
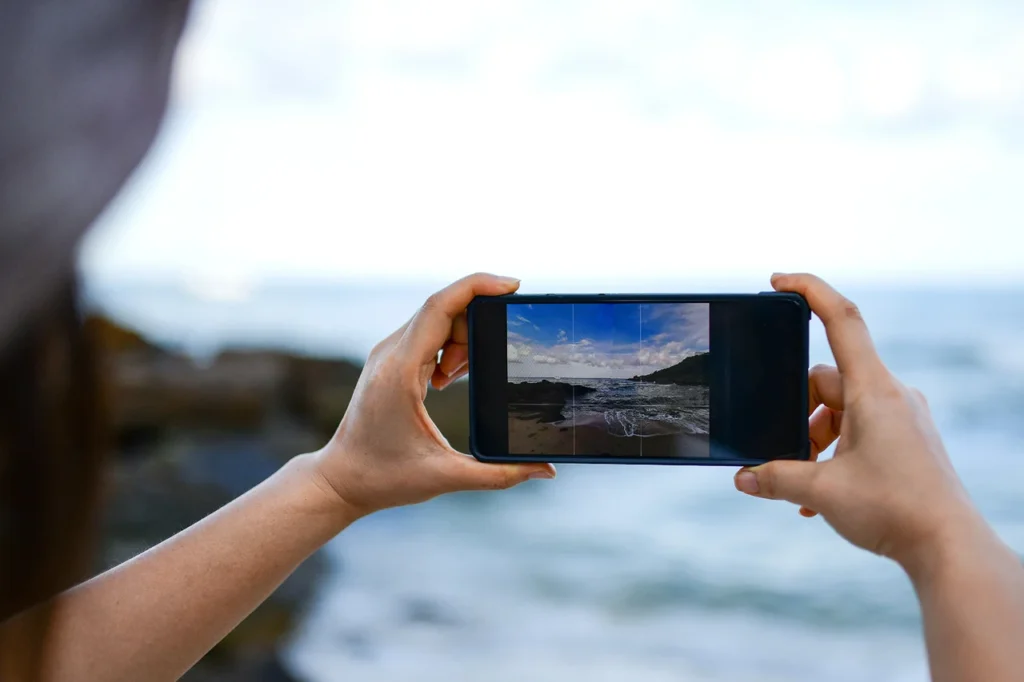
How does printing from a phone work? A step-by-step guide
Transferring a photo to a wall printer takes just a moment. You can do it using a USB flash drive, and the process is exactly the same on any phone – whether you use an Android or an iPhone.
It’s simple, but remember that if you ever face any technical issues, you can always contact our support team.
A quick note before we start: in this guide, we show you how to go through the entire process 100% on your phone. While it is most convenient to prepare graphics on a computer, we created this quick guide for printing directly from a smartphone to answer your requests.
Step 1: Planning the print dimensions
If you want to make sure how large of a print you can make from your photo, use a DPI calculator. It’s a simple tool that calculates in seconds whether the file parameters match your planned wall dimensions. You can find detailed instructions on how to use it in the article: How does a DPI calculator work?
Do you have to do this every time? Absolutely not. As we mentioned earlier, your phone file should be more than enough. So, if you are printing a standard shot from a newer smartphone, you can easily skip this step.
Step 2: Preparing the file
Now it’s time to set up the color profile and save the graphic in TIFF format.
Don’t worry – we have mapped out this stage too, so you can handle the configuration without a hitch. Take a look at the article: How to prepare graphics for printing?
And what if you want to print something quickly and don’t have time for this setup? Just skip this step. If you have a photo on your phone in a standard JPG format, you can print it directly – without any conversion or color profile setup.
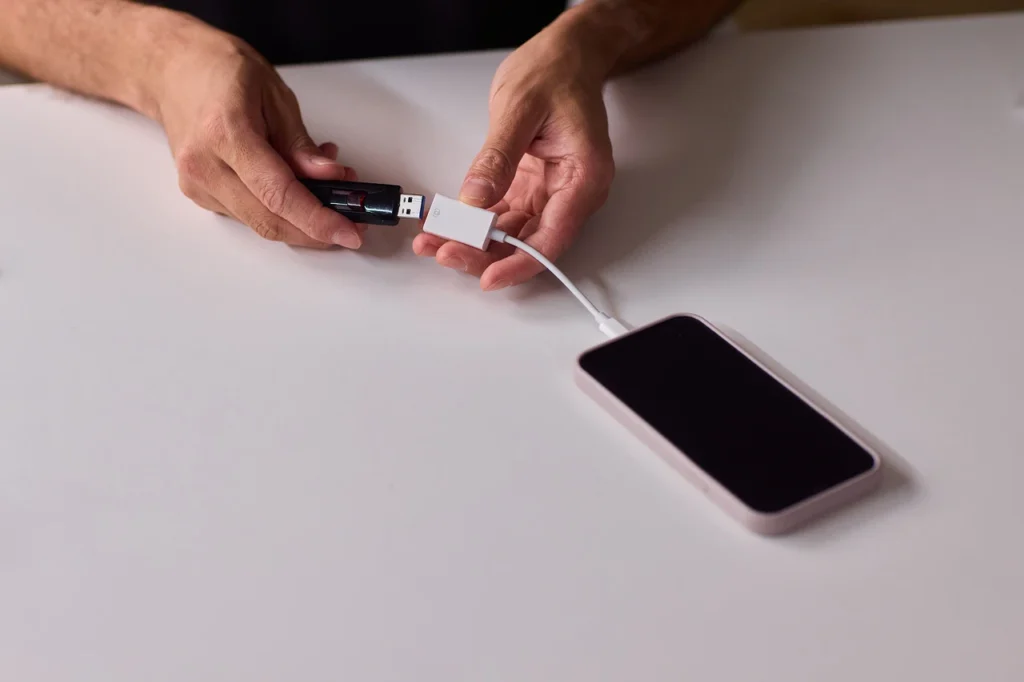
Step 3: Transferring the file from your phone to a USB drive and from the USB drive to the printer
Copy the prepared photo onto a USB flash drive. A dual-connector drive works best – with a classic USB on one side and USB-C on the other (which fits most phones).
Plug the flash drive into your smartphone, copy the photo, and unplug it.
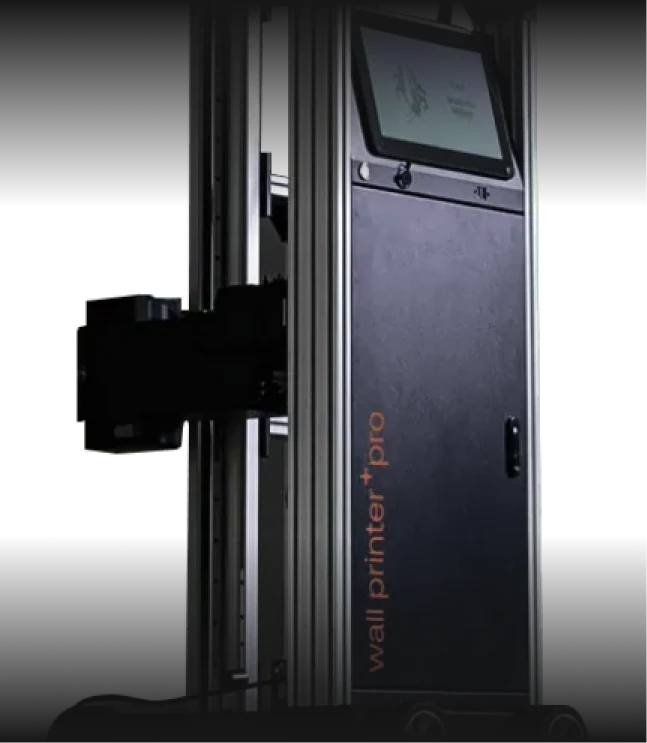
Next, plug the flash drive into the computer of the wall printer⁺ pro and transfer the file.
Step 4: Ripping the photo
Now it’s time to rip the file in the software. This means translating it from a computer format into a language the wall printer understands. Sounds complicated? It’s only complicated by name!
You can find detailed tips in this guide: ripping a photo for wall printing.
Step 5: Starting the print
Prepare the printer for printing according to the standard procedure and start printing. The printer starts moving and applies the graphic onto the wall.
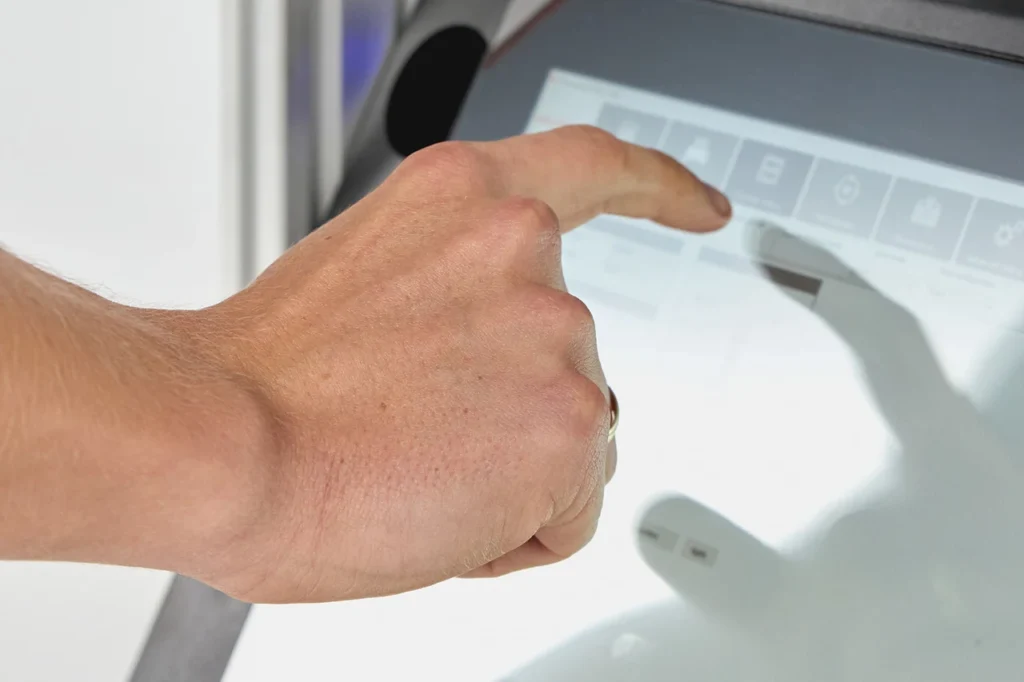
Quick photo editing? You can do it on your phone
Sometimes, even great shots look better with minor tweaks before printing (like boosting colors or sharpness, or fixing an unsightly background). You can fine-tune all of this on your smartphone in just a few minutes.
Here are three mobile apps that make daily work with graphics much easier.
1. PhotoRoom – instant background removal.
- Real-life scenario: You want to print your dog on a wall in a kid’s room, but the background of the photo shows scattered toys and an unsightly fence.
- How to do it: Open the photo in the PhotoRoom app on your phone. The AI scans the image in seconds, cuts out the background, leaving only the dog, and creates a much cleaner design for printing.
Save it as a PNG file (with a transparent background) directly to your phone’s gallery. Ready to copy onto your USB drive.
2. Canva Mobile – combining photos
- Real-life scenario: You have two holiday photos that you want to combine into one – for example, a sunset landscape and a portrait of your kids.
- How to do it: Open the free Canva app on your smartphone. Choose a template with the right proportions, drag both photos with your finger on the screen, and arrange them however you like.
3. Lightroom Mobile – instant color boost.
- Real-life scenario: Your photo looks okay, but the colors are a bit dull and the shadows are too harsh, which might make the wall print lose its charm.
- How to do it: Import the photo into Lightroom Mobile. Click the “Auto” button – the algorithm fixes the exposure on its own. If you want the colors to be more saturated and vivid, just use a single slider to boost “Vibrance” or “Contrast”. The photo instantly gains depth, and the colors become clean and sharp.
| App | Use Cases |
|---|---|
| PhotoRoom | Instant background removal from a photo. |
| Canva Mobile | Combining multiple photos into one using ready-made templates. |
| Lightroom Mobile | Boosting colors, improving brightness and contrast using the “Auto” function or sliders. |
Everything about graphics in wall printing – check out our series
A wall printer opens up massive opportunities, but the final effect on the wall often depends on the graphic file itself. To make your start easier and save you time, we’ve prepared a whole series of practical guides.
You’ll learn, among other things, where to download free graphics in great resolution, how to flawlessly prepare files in graphic design software, and how to use the basic functions of Photoshop.
Head over to our other articles and gather the complete knowledge we share straight from our daily practice.
And if you have any questions – we are always here for you.
Frequently Asked Questions (FAQ)
Does a phone photo have high enough quality for wall printing?
Yes, modern smartphones allow you to get sharp, photorealistic prints up to 2 x 1.5 m.
How to transfer a photo from a smartphone to the wall printer⁺ pro?
The process only requires using a dual-connector USB flash drive (USB and USB-C). You copy the photo from your phone to the flash drive, plug it directly into the printer’s control computer, and transfer the photo.
How to check if a photo sent by a client has the right resolution for wall printing?
A DPI calculator helps with this, checking in seconds whether the file parameters match the planned wall dimensions. This gives you peace of mind that the print will be sharp and free of visible pixels.
Do I need to know graphic design to operate a wall printer?
Absolutely not, as basic smartphone or computer skills combined with our instructions are more than enough to complete jobs. Plus, the package price from wall printers⁺ includes hands-on technical training and access to our knowledge base, where you learn everything from scratch.
What kind of support can I count on if a graphic issue comes up during a job?
With wall printers⁺, you get access to a private Slack channel where our technical support replies in under 3 minutes on average. We are here for you from 8:00 AM to 10:00 PM, 7 days a week – weekends included.
Not sure if this business is for you? Want to know the details or get started right away?
Discover the collaboration opportunities available to you and learn how to get started—even if you lack capital, a business of your own, experience, or prior knowledge. We will teach you everything.
See more
Blog
Explore our resources
Have a look through our knowledge base. We’ve put together articles, videos and answers to the questions people ask most before getting into wall printing.
Our process
Discover our collaboration process
Take the first step and we’ll do the rest
Send the form and we’ll email you our price list straight away, with all the packages and what’s included. One of our advisers will be in touch within one working day. No hard sell, just answers to your questions.

Your data is safe
Step 1: Choose your location
Step 2: Fill out the form